Guest Post-Pallet Wood Frame Tutorial

I have a new obsession with "upcycling"... finding old things and making them beautiful! So you should not be surprised that I LOVE pallets and the many projects that can be made with them! I had been in love with these frames from The Savy Photographer for a while and when I saw the cute frames that Poppy Seed Projects had, I knew what I was going to do!
What you will need
1. Pallet- Check the back of stores or post an add on your local Craig's List and be sure to ask first if you find a pallet. Most of the time retailers are wanting to get rid of them, but sometimes they have to return them. I have a small collection so I picked one that would work and started to take it apart, This is probably the least fun part for me, but with the back of a hammer I was able to get all the boards apart and nails out.2. Frame- Get a Poppy Seed Projects Frame in your favorite shape-I chose the Eleanor Rectangle.
3. Dark Color Paint- I chose a black acrylic paint, but this really could be any type of paint. Burnt Umber is another one of my favorites.
4. Lighter Color Paint - I chose a white, but wouldn't a light yellow or blue be so cute too?
5. More Paint- This color will be the color of your frame- This is going in my living room so mine will be red.
6. Photo Texture Cream
7. Industrial Strength Velcro
8. Masking Tape
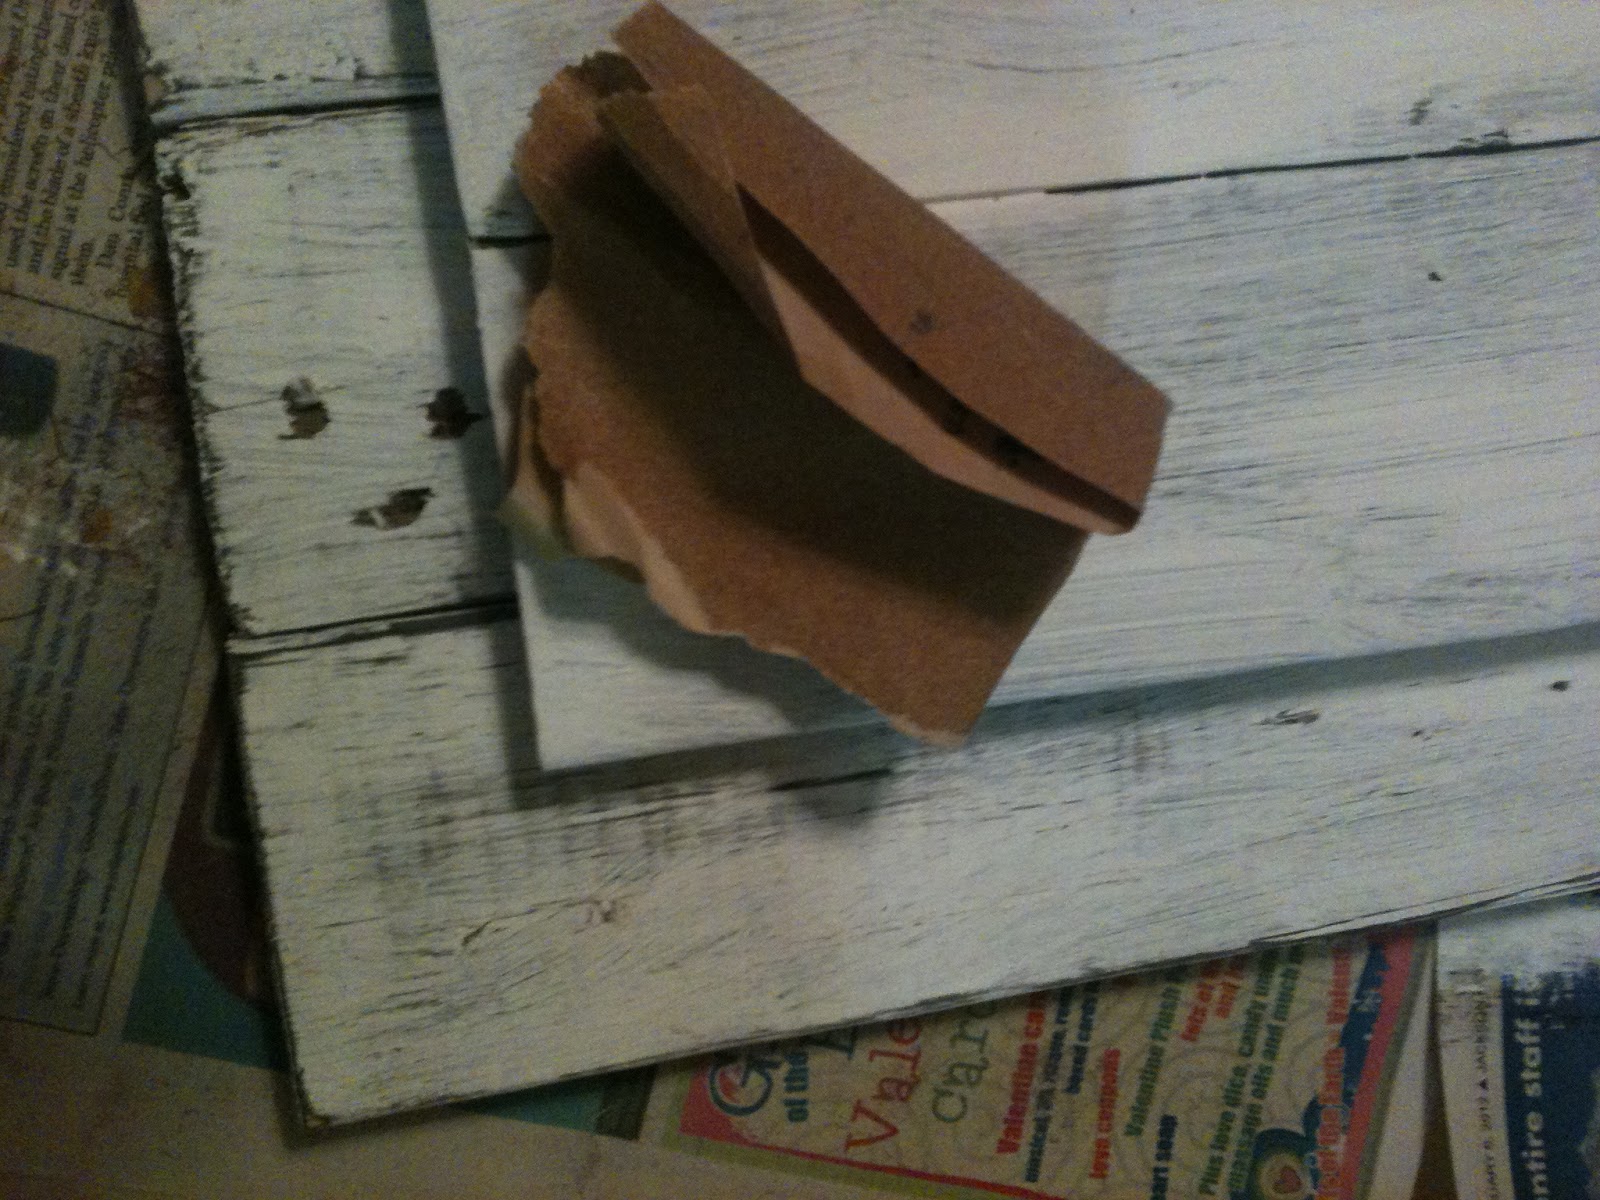
 To start I enlisted the help of my hubby, his saws, and a staple gun. We found 5 of the best pieces... The ones that were not cracked or damaged too badly. We then cut them into approx 17" long pieces. We then laid them all face down and put a small 1" wide trim piece across the back on both the top and the bottom. I stapled it on to hold it together. (see the photo of the back of the pallet boards at the bottom if you don't understand)
Sand all your wood to get the little edges off of your frame and the slivers off of your pallet wood.

I brought it inside and got ready to paint...if you want to do the antiquing with the texture cream, please watch Poppy Seed Projects' video tutorials look for "Making an Antique plaque" they are all awesome!! My base color after the texture cream was black for the pallet boards and white for the frames. There are so many possibilities this was the hardest part for me to decide what color to paint it all. If you don't want the antique type look then just pick the two colors and paint away! :)

After the base coat was completely dry I put on the second coat, white for the pallets and black for the frames. (the thing in the middle is my brush in a plastic baggy...sometimes the kids don't wait and this keeps my brush from drying out! ) Let that coat dry completely.

I chose to add a little bird vinyl sticker on my frames in this corner and painted on a third red coat of paint.

Now I let that all dry very well overnight. This is just what time it worked out to be for me, but give it a couple of hours. I peeled off the vinyl and you can see my black paint under that. I (Ignore the peeling nail polish...how embarrassing!)

Now it is time to sand. I have 3 tips 1. Use 200 grit or so sand paper, so you don't take it all off at once. 2. Sand by hand. and 3. Wipe the dust away as you sand with a DRY cloth. There is no right or wrong, start small and if you want a bigger effect sand a bit more. This is such a great effect!! I think I am in love with this texture cream.
Now for the finishing touches. I wanted to be able to change the photo in my frame so I bought strips of Industrial Strength Velcro and cut in in half length wise and took of one side of the paper backing and stuck this to my frame. I then took off the other paper backing and stuck the frame to my pallet boards.


Then I put the picture in the frame and just taped on the backing to hold it in place.

Add the hanger on the back of the pallet boards and you are good to go! :)

These are now hanging in my living room, and I am loving it and planning the next project that will definitely involve a Poppy Seed Project frame! Thanks again and remember to do something CREATIVE every day!

_______________

 Lacy Horrocks is a mother of 3 small kiddos, who uses crafting as a way to stay sane among the everyday chaos of raising kids! She a partner at The Finishing Touch wedding decorating and teaches crafting classes for her local community college branch. When she is not doing these things she is working with developmentally disabled individuals and loves being able to help people better their lives.


No comments:
Post a Comment